Casual St. Patrick's Day Outfit, Makeup and Hair Look ♡

Here is a fun outfit that is perfect for a St. Patrick's Day party or if you just want to be more festive! This outfit incorporates a lot of green and is more casual and laid back than the other outfit I put together in my previous post. I hope everyone has a lucky St. Patty's Day! ♡


Earrings- Party City
Bracelets- JCPenney
Stickers- Party City
Sneakers- Nordstrom
Socks- Overstock
Necklace- Party City
Phone Case- Cafe Press
Long Sleeve Shirt- Etsy
Leggings- Calvin Klein
Headband- Kirklands
Oil Blotting Sheets- Sephora
Mascara- Bobbi Brown
Lipstick- Smashbox
Purse- Michael Kors
Foundation- Urban Decay
Primer- Clinique
Bronzer- Lorac
Eyeshadow- NYX
Eyeliner- YSL

This outfit is pretty crazy and out there, but it shows a lot of spirit for St. Patrick's Day. You can add fun inexpensive decorations to your look such as stickers, headbands, earrings, plastic bracelets and necklaces. I suggest getting these things from a party store, such as Party City because you can usually find a lot of cool stuff that's really inexpensive. Since this is a casual outfit, I would wear my hair in a loose pony tail or bun, with some pieces hanging out to frame my face. You should keep a clean looking face with a lightweight foundation and adding some shimmery bronzer. Finish the look with a swipe of red lipstick, which will look great with all the green.  

Thanks for reading! I hope you enjoyed this post and found inspiration for your St. Patrick's Day look!

Disclaimer: All thoughts, opinions and photos are my own :)


Fancy St. Patrick's Day Outfit, Makeup and Hair Look ♡

St. Patrick's Day is right around the corner- March 17th! I usually don't celebrate or do much on St. Patrick's Day, but I wear a little pop of green sometimes. I have put together a look that is St. Patrick's Day themed. I think this kind of look would be great if you are going out to eat and just want a few little subtle pops of green without going all out. It's pretty sophisticated and chic, and the outfit won't hurt people's eyes when they look at you, because it incorporates darker greens! ♡


Bracelet- Alex & Ani
Necklace- Dogeared
Makeup Bag- TopShop
Lipstick- NARS
Jeans- TopShop
Phone Case- Michael Kors
Eyeliner- Clarins
Foundation- Too Faced
Mascara- Lorac
Perfume- Jo Malone
Primer- Smashbox
Eyeshadow- Urban Decay
Bronzer- Lorac
Brow Gel- Anastasia

I think this outfit is perfect for St. Patrick's Day, because it looks like a regular outfit, but still throws in some green spirit! You can add small little clover accessories and other lucky symbols. For the makeup, I think it's great if you throw in a red lip color, because red and green compliment each other perfectly (they are complimentary colors after all!). You don't want to have too much red mixed in with your green, because that will look too Christmasy. Green eyeliner will also be a nice pop of color, and the silver eyeshadow will make your eyes stand out even more. For hair, I would do a loose messy ponytail or curl it!

Thanks for reading! I hope you enjoyed the post and found inspiration for your St. Patrick's Day look!


Disclaimer: All thoughts, opinions and photos are my own :)

Product Review: Conair Instant Heat 1-1/4 Inch Curling Iron & Tips on Curling Hair

Product Information for Model CD82PCS
-Conair Curling Iron 
-multi-layer technology for even heat distribution
-smart technology keeps barrel at a consistent heat
-unique button design prevents accidental shutoff
-turbo heat gives a burst of heat at the touch of a button
-dual voltage
-30 second heat-up
-25 heat settings
-on/off indicator light
-extra-long cool tip
-safety counter rest
-auto off

My Opinions

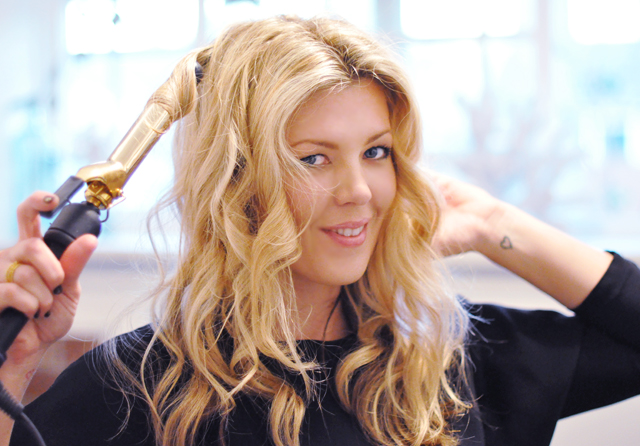
I really like this curling iron because of the cost and the quality. I bought this curling iron for $12.99 at Target, and I decided on a 1-1/4 inch curling iron because I have long, thick hair. This iron is perfect for loose bouncy, beachy waves. I wouldn’t recommend this iron to people who have thinner hair or who want small, tighter waves. The plastic packaging was difficult to get off (I had to get really big scissors).  I really liked that the curling iron had a safety counter rest, so that when the iron is heating up, I don’t damage any of my counters. The heat settings let you choose the right temperature for your type of hair, so you don’t have to add ore temperature than is needed. Since I have thick hair, I use the heat setting 20, but they have a very wide range of heat settings. The auto off is an also very important feature that I look for in hair appliances, because it ensures that your hair appliance won’t burn your house down if you forget to turn it off. Also, it’s great that this curling iron has dual voltage, because I sometimes travel out of the country (I am going to London over Winter break), and it’s a huge hassle to have to worry about bringing wall adapters for your electronics. The barrels are nice and smooth, and don’t snag on my hair.


Tips on How to Curl Your Hair

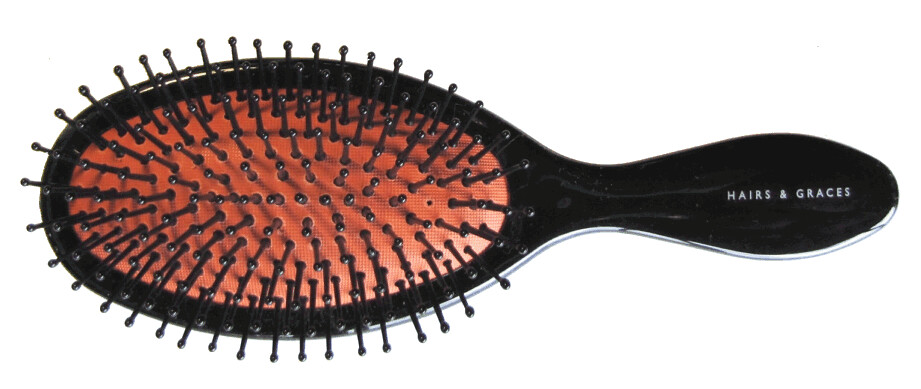
Step 1: Brush out all your hair, so that there are no knots or tangles. This is important so that your hair won’t snag or tangle while it is being curled. Turn on your curling iron and set it to the right temperature setting.


Step 2: Make sure to use heat protectant on your hair, to ensure that your hair isn’t damaged by all the heat you are about to apply to it. This is the TRESemme Heat Tamer ($3.99).
Step 3: Split your hair into 2 or 3 layers depending on the thickness of your hair (I usually do 3 layers). Gather your top layers, make a bun on the top of your head and tie it with an elastic or use a butterfly clip.
Step 4: Starting with the back of your head, take a 1 inch section of hair and clasp the end of your hair with the iron. Then turn the iron in the direction that you want your curls to go.  You can also turn your curling iron into a curling wand, simply by not using the clasp and wrapping your hair around it. When you finish curling a piece of hair, ball the hair up in your fist near your head, which will make your curls hold longer.
Step 5: Keep wrapping your hair around the iron and once your bottom layer is done, you can bring down another layer of your hair, so eventually you have curled all the layers. Once you get the front sections of your hair, I would recommend curling away from your face, which will frame. For the other sections I would alternate curling away and towards your face.

Step 6: If you want loose waves, then finger through your hair. If you would rather have tighter curls, then you can skip this step.

Step 7: Finish your look of by spritzing a little hairspray on your hair, and then you are good to go!

Thanks for reading and please comment below and subscribe to my email list to get emailed when I make a new post :)

 THIS BLOG claims no credit for any images posted on this site unless otherwise noted. Images on this blog are copyright to its respectful owners. The 3 pictures under "my opinions" were taken by me.

Popular Posts

Popular Posts

Like us on Facebook

Flickr Images